Category Archives: Blog

25
May
May
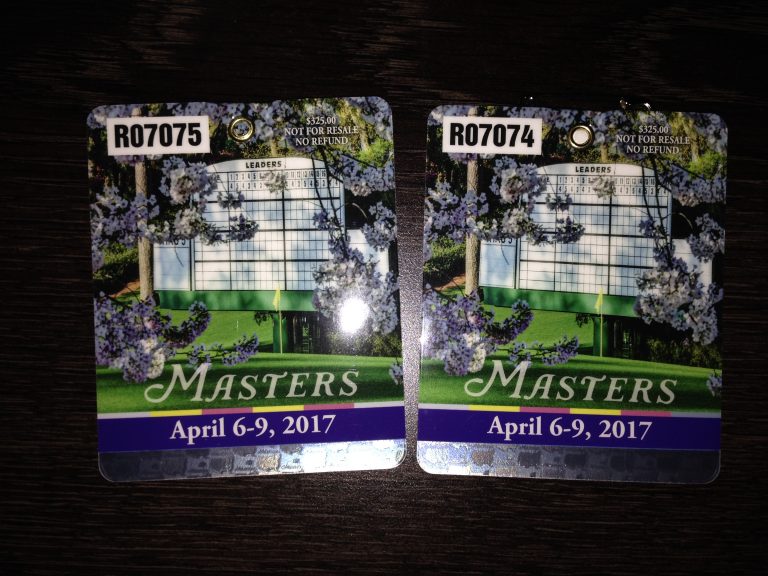
I live a charmed life. My high school buddy TC called me prior to the 2017 Masters Tournament and said he may have some Masters Tickets … would I be interested. I said it’s on my bucket list. We dropped everything and flew down on Spirit Airlines (I Do NOT recommend them. The weather was […]

25
May
May
FREE Country Club Elite® 5×5 $ 539 Giveaway Sign-up Below for this and future Real Feel Golf Mats® Special Promotions and Discounts Get Your Own Country Club Elite® 5×5 FREE! Sign-Up Now What Other’s Are Saying About Their Country Club Elite® Golf Practice Mat: